# Two at a Time Sock Knitting: Complete Guide
You know the pattern by heart. You cast on a sock, knit it with real enthusiasm, weave in the last end, try it on, admire it — and then it sits in your project bag for three months while you start something new. Eventually you have a drawer of single, lonely socks and no matching pairs. Knitters have a name for this: second sock syndrome, and it is one of the most common reasons hand-knit socks never make it to feet.
Two at a time sock knitting solves the problem by removing the choice entirely. Instead of finishing one sock and then deciding whether to start the second, you knit both socks simultaneously, round by round, on the same needle. When the first sock is done, so is the second — there is no "second sock" left to dread, because there was never a first one finished on its own.
This guide assumes you're already comfortable with the basics of magic loop knitting — folding a long circular needle to work small tubes. If that's new to you, it's worth getting familiar with that technique first, since two at a time sock knitting is really just magic loop with a second sock added into the mix. Here, we're focusing specifically on what changes when you add that second sock: the setup, the yarn management, and the small adjustments that keep two projects moving in sync.
Why Knit Two Socks at Once
Beyond dodging second sock syndrome, working both socks together has a few genuine advantages:
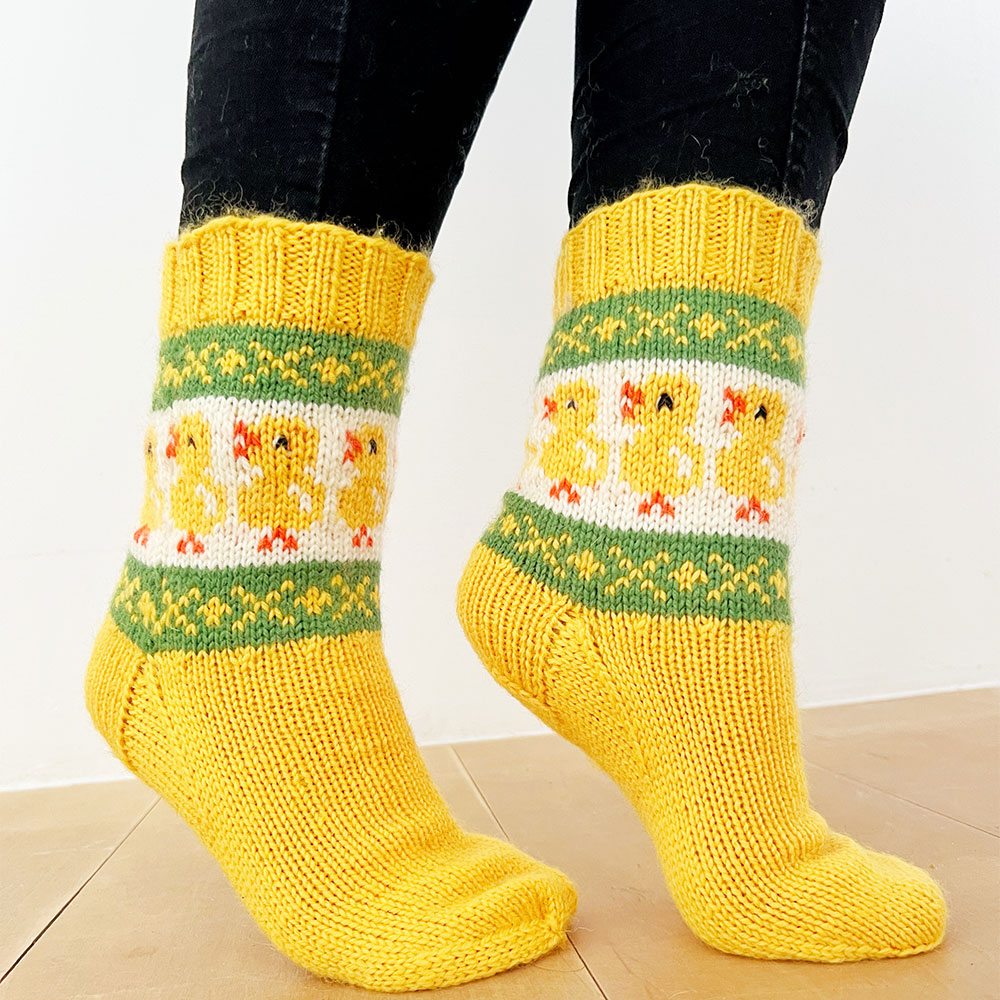
- Guaranteed matching pairs. Because both socks are worked from the same pattern and the same row counts at the same time, you never end up with two socks that are subtly different lengths or that used slightly different tension on a given day.
- Even yardage. You're pulling from two balls at once, so you'll notice immediately if one sock is using yarn faster than the other — a sign of a tension or stitch-count mismatch you can fix before it becomes a problem.
- One finish line. You bind off, weave in ends, and have a completed pair in hand. No second round of motivation required.
The trade-off is real, and it's worth naming honestly: you are managing two strands of yarn on one needle, which means more setup, more chances to knit the wrong sock's stitches with the wrong yarn, and a slower pace per round while you get used to the rhythm. Most knitters find the trade worth it for a sock pattern; for a scarf or blanket, it's rarely worth the fuss. For two matching small items — socks, mitten pairs, or a set of sleeves — it tends to pay off.
What You'll Need
- One circular needle long enough for magic loop — 32 to 40 inches is standard for sock-weight yarn, though some knitters prefer even longer for extra slack while managing two strands.
- Two separate, equally sized balls or cakes of yarn. If you're using one skein for both socks, wind it into two separate balls before you start rather than trying to pull from both ends of one center-pull ball. Two ends from a single cake tangle around each other constantly; two independent balls don't.
- Stitch markers, ideally two different colors, so you can tell socks apart at a glance until your hands learn the rhythm.
- Your usual sock notions: tapestry needle, small scissors, and a place to set two balls of yarn where they won't roll toward each other.
Setting Up: Casting On Both Socks
The core idea is that both socks share one long circular needle, but each sock keeps its own dedicated yarn throughout the entire project. You never share a strand between them.
- Cast on sock one with ball A, using your pattern's stitch count, and slide those stitches onto the cable without joining yet.
- Cast on sock two with ball B, directly after sock one's stitches, on the same needle.
- Arrange the needle in the magic loop position, pulling out a loop of cable so that half of sock one's stitches and half of sock two's stitches sit on one needle tip, and the remaining halves sit on the other tip.
- Join each sock into the round separately, being careful not to twist either set of stitches, and place a marker to note the beginning of each sock's round.
From here, both socks exist as two independent tubes that just happen to be riding on the same piece of equipment.
Working a Round on Both Socks
Once you're set up, a typical round looks like this: knit across the live stitches of sock one using yarn A, drop that yarn, pull the cable through, and knit across the corresponding stitches of sock two using yarn B. Repeat for the second needle tip. Each sock is always worked with its own yarn, so at no point do the two strands actually cross or share a stitch — they simply sit close together on the cable.
The habit to build is dropping the yarn you just used before picking up the other one. If you grab the wrong ball out of habit, you'll knit a stitch in the wrong color or accidentally join the two socks together with a stray strand, which is fiddly to fix later.
Yarn Management Tips
Most of the real skill in two at a time sock knitting is just keeping the yarn organized, since the knitting itself uses stitches you already know.
- Keep the balls physically separated. Two small bowls, two sides of your lap, or a two-cup yarn bowl keeps ball A and ball B from rolling into each other and twisting together mid-round.
- Watch which strand comes from where. It helps to keep sock one's yarn consistently coming from your left and sock two's from your right (or vice versa), so your hands develop muscle memory for which strand belongs to which sock.
- Untwist every few rounds. Even with balls kept apart, the strands will slowly wind around each other as you work. Pause periodically to let the balls untwist, rather than fighting a fully tangled mess later.
- Expect a slower pace at first. Dropping one yarn, picking up another, and pulling the cable through twice per round takes longer than working a single sock. Most knitters find their speed picks back up within the first few inches, once dropping and picking up yarn becomes automatic.
- Label your markers if colors are close. If both socks are knit in similar yarn colors, a locking stitch marker or scrap yarn tag on one sock's needle tip can save you from second-guessing which side is which.
Troubleshooting Common Snags
The yarns keep tangling no matter what I do. This is almost always a sign the two balls are winding around each other because they're pulling from the same general area. Physically separate them — even hanging one ball in a bag off the side of your chair while the other sits in your lap — and untwist deliberately every round or two rather than waiting until it's a knot.
I knit a stitch with the wrong yarn. It happens, especially early on. If you catch it within a round or two, you can usually unknit (tink) back to the mistake and redo it with the correct strand. If it's a stitch or two into the fabric already, weaving in a very short new end where the wrong yarn was used is often the simplest fix.
One sock is noticeably behind the other in rounds. Double check your stitch counts match your pattern for both socks, and confirm you're working a full round on each side of the needle before moving to the next sock. It's easy to accidentally work sock one twice before turning to sock two.
I lose track of which needle tip belongs to which sock. Distinct-colored markers at the start of each sock's round are the simplest fix, along with a consistent physical layout — for example, always working sock one's stitches first, on the tip closer to you.
Is Two at a Time Worth It for Your Next Pair?
If you've abandoned single socks in the past, or you knit socks as gifts and need a guaranteed matching pair, two at a time knitting is worth the learning curve. The setup takes a little more attention than a single sock, and your first few rounds will feel slower while you build the drop-and-switch rhythm. But once that rhythm sets in, you're not knitting two socks in sequence — you're knitting one project that happens to produce a finished pair the moment you bind off.