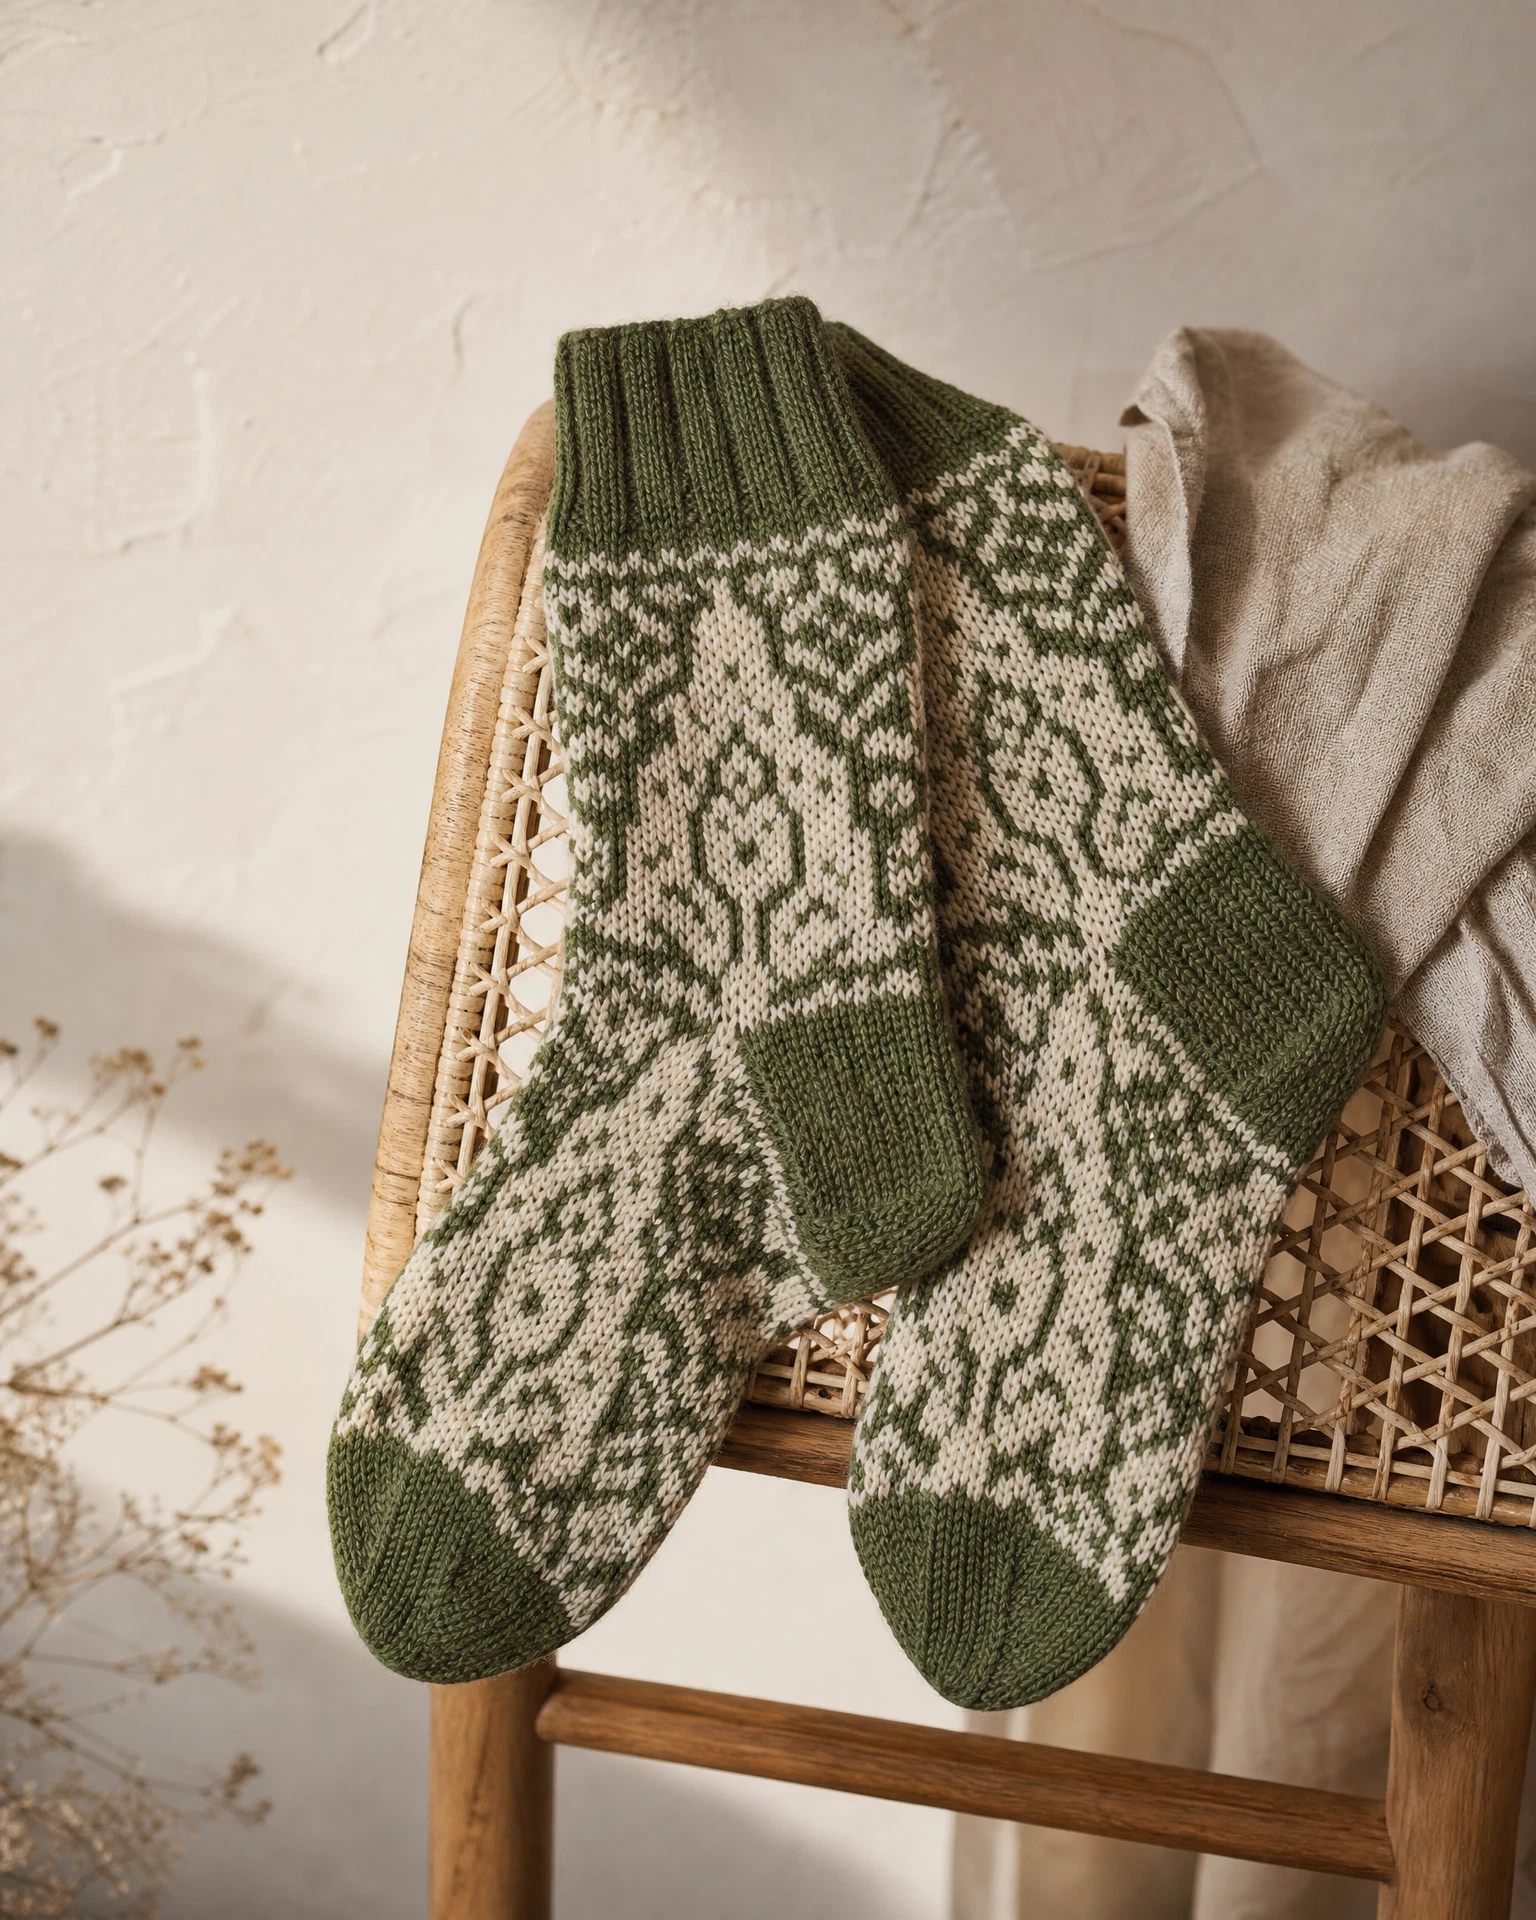
# Understanding Knitting Pattern Difficulty Ratings
You've picked a pattern labeled "Intermediate," cast on with confidence, and then hit a technique you've never seen before, three rows past the point of no return. If that's happened to you, you're not bad at reading patterns. You've just run into one of the quirkier truths of the knitting world: difficulty labels are a helpful starting point, but they're not a guarantee.
This guide walks through where skill-level labels actually come from, why two patterns with the same label can feel wildly different to knit, and how to size up a pattern's real difficulty for yourself before you buy the yarn.
Where "Beginner," "Easy," "Intermediate," and "Experienced" Come From
Most of the skill-level language you see on patterns and yarn labels traces back to a standardized system maintained by the Craft Yarn Council (CYC), an industry group that many yarn companies, magazines, and designers voluntarily follow so that shoppers have a common reference point.
The CYC framework defines four knitting skill tiers, each tied to specific techniques rather than a vague sense of "how hard it feels":
Beginner
Projects for first-time knitters, built on basic knit and purl stitches with minimal shaping. Think garter-stitch scarves or a simple stockinette dishcloth.
Easy
Projects that use basic stitches but add repetitive stitch patterns, simple color changes, and straightforward shaping and finishing. A simple striped hat or a basic raglan sweater with no cables often lands here.
Intermediate
Projects that introduce a wider range of techniques: basic cables and lace, simple intarsia, double-pointed needle or in-the-round knitting, and mid-level shaping and finishing. This is often where knitters meet techniques like short-row heels or their first colorwork chart.
Experienced
Projects that combine advanced techniques and stitches, such as short rows, fair isle, intricate intarsia, complex cables, detailed lace patterns, and numerous color changes, often layered together in the same piece.
You'll notice each tier is defined by which techniques appear in the pattern, not by a designer's gut feeling about "hard" versus "easy." That's useful, because technique lists are things you can actually check against your own experience, which we'll get to below.
The Real Limitation: Ratings Aren't as Standardized as They Look
Here's the part that trips people up: while the Craft Yarn Council system exists and plenty of publishers reference it, applying it is still a judgment call, and different designers, magazines, and pattern platforms don't always land in the same place for the same project. A few reasons why:
Skill level is often assigned by the designer, informally. Many independent designers rate their own patterns based on personal experience rather than running through a formal checklist, so the same techniques can get labeled "Intermediate" by one designer and "Experienced" by another.
Technique difficulty is genuinely personal. Knitters who write about pattern difficulty online frequently point out that a technique one person finds intuitive, another finds genuinely hard. Some knitters find working in the round easier than flat knitting with seaming, even though in-the-round techniques are typically classified as a step up in difficulty. Others find colorwork like fair isle far more approachable than lace, despite fair isle usually being labeled a more advanced technique. Your own strengths and the techniques you've already practiced matter as much as any label.
Crowd-sourced difficulty ratings have the same problem, from a different angle. Community difficulty meters, where knitters rate patterns after making them, run into the reverse issue: what one knitter experienced as challenging, another sailed through, so the average rating can smear together very different experiences into one number.
"Difficulty" is really several things bundled together. A pattern can be technically simple but exhausting to execute (a bulky blanket with thousands of stitches), or technically demanding but quick to learn (a single new cable repeated throughout). A single word or star rating can't capture that mix.
None of this means skill-level labels are useless. It means they're a helpful signal, worth reading, but not the whole picture, and not something to follow blindly instead of looking at the pattern itself.
A Practical Checklist: How to Judge a Pattern's Real Difficulty
Before you commit to a pattern, especially one for a gift, a deadline, or an expensive skein of yarn, run through these checks instead of relying on the label alone.
1. Read the full techniques list, not just the skill level
Most well-written patterns list the specific techniques used, somewhere in the description or pattern notes: cables, colorwork, short rows, steeks, grafting, and so on. Go through that list line by line and ask yourself honestly which of these you've actually done before, not just watched a tutorial on.
2. Check the construction method
How a garment is built changes the experience a lot. Seamless, in-the-round construction, top-down raglans, and modular pieces all carry different demands than flat pieces knit in parts and seamed. If you've never picked up stitches around a neckline or grafted a toe with Kitchener stitch, a pattern that requires those, regardless of its label, will feel harder than the rating suggests.
3. Look at the stitch count and finished size
A queen-size blanket in fingering-weight yarn is not more technically difficult than a hat, but it demands far more time, patience, and consistency across thousands of repeated stitches. Factor in scale and gauge separately from technique difficulty.
4. Scan the pattern for how much is explained
Patterns vary enormously in how much hand-holding they offer. Some spell out every abbreviation and include row-by-row written instructions alongside charts; others assume you already know standard techniques and jump straight into shorthand. A pattern with a "harder" label but generous instructions can be more approachable than a "simpler" one written tersely.
5. Read project notes and finished-object photos from other knitters, when available
When a pattern has been made by other people and they've shared notes about modifications, mistakes, or where they got stuck, that real-world feedback often tells you more than the label does. Recurring notes about a confusing section or a tricky transition are worth taking seriously.
6. Match techniques to your own knitting history, not your confidence
Be specific with yourself. "I've knit in the round before" and "I've knit a sweater yoke with three color changes per round" are different levels of readiness. If a pattern's technique list includes something you've truly never done, plan to look up a tutorial for that specific step ahead of time, rather than hoping you'll figure it out mid-project.
7. Give yourself a practice swatch for anything unfamiliar
If a pattern calls for a technique that's new to you, cables, a new cast-on, a specific short-row method, knit a small swatch of just that technique before starting the full project. It's a low-stakes way to convert an "Experienced" label from a warning sign into a manageable learning step.
How We Rate Patterns
Because labels alone don't tell the whole story, we aim to go further than a single skill-level tag. Alongside a difficulty label, we list the specific techniques a pattern uses, flag anything that's likely to be new territory for less experienced knitters, and note where a project is more time-intensive than technically demanding. Our goal is to give you enough detail to judge a pattern's real difficulty for yourself, the same way this checklist encourages you to do with any pattern you come across.
Skill-level labels are a genuinely useful shorthand; they just work best as a starting point for your own evaluation, not a final verdict. The more you knit, the more these checks become second nature, and the more confidently you'll be able to look past a label and know, for yourself, whether a pattern is really within reach.