# Icelandic Yoke Knitting: How to Knit a Lopapeysa-Style Sweater
If you've ever admired a sweater with a wide, patterned circle of colorwork radiating from the neckline, you've seen a yoke sweater — and the most famous version of this style is Iceland's lopapeysa. The good news for knitters is that this striking silhouette is built from a genuinely approachable technique. There's no complicated shaping to fuss over, no set-in sleeves to sew, and once you understand the logic of the construction, you can apply it to almost any colorwork chart you like. This guide walks you through exactly how the sweater goes together, so you can knit one with confidence.
A Quick Word on Where This Style Comes From
The lopapeysa emerged in Iceland in the mid-20th century, built around lopi — a wool spun with little to no twist, taken directly from Icelandic sheep. Icelandic sheep have a distinctive double coat, and lopi yarn is typically spun as a blend of the coarser outer fiber (tog) and the soft undercoat (þel), which gives it excellent insulating properties and a light, airy structure that colorwork patterns show off beautifully. If you want the full cultural story — how the garment became a national symbol — that's a topic for its own article. Here, we're focused entirely on how to knit one.
Understanding Yoke Construction
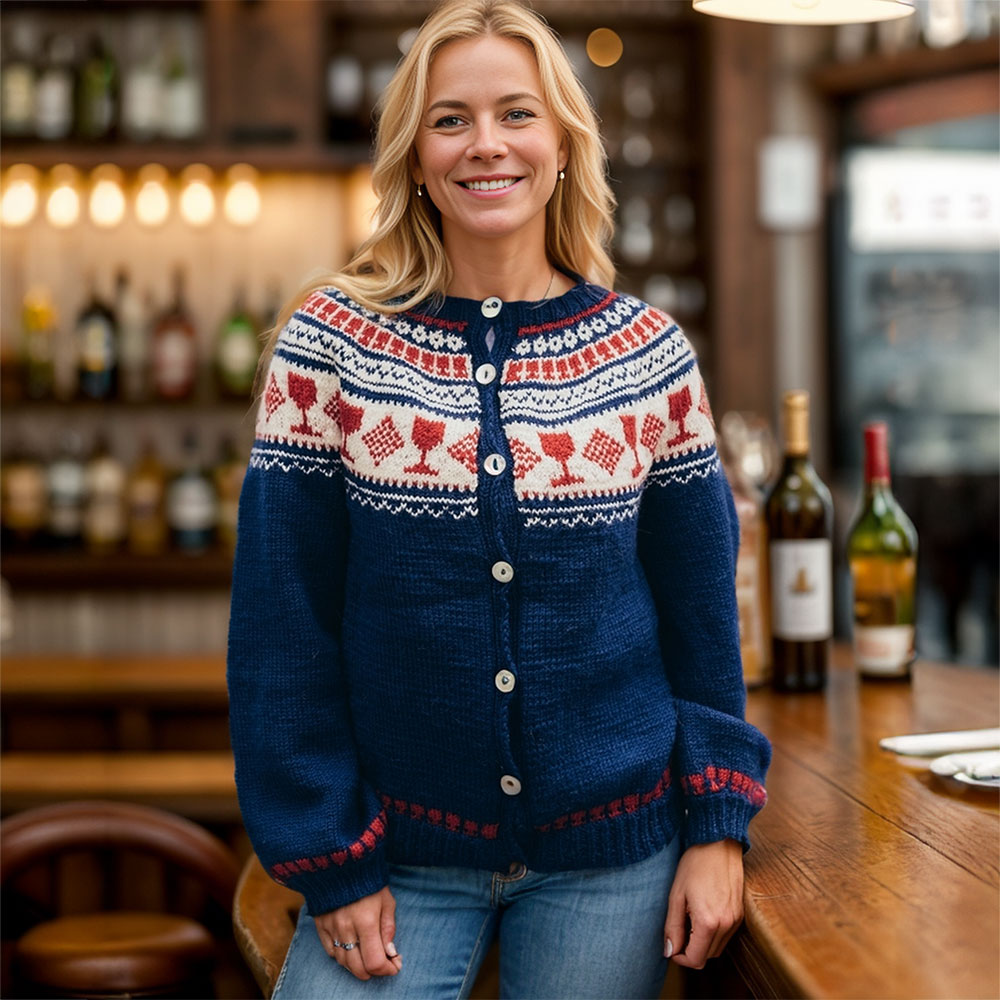
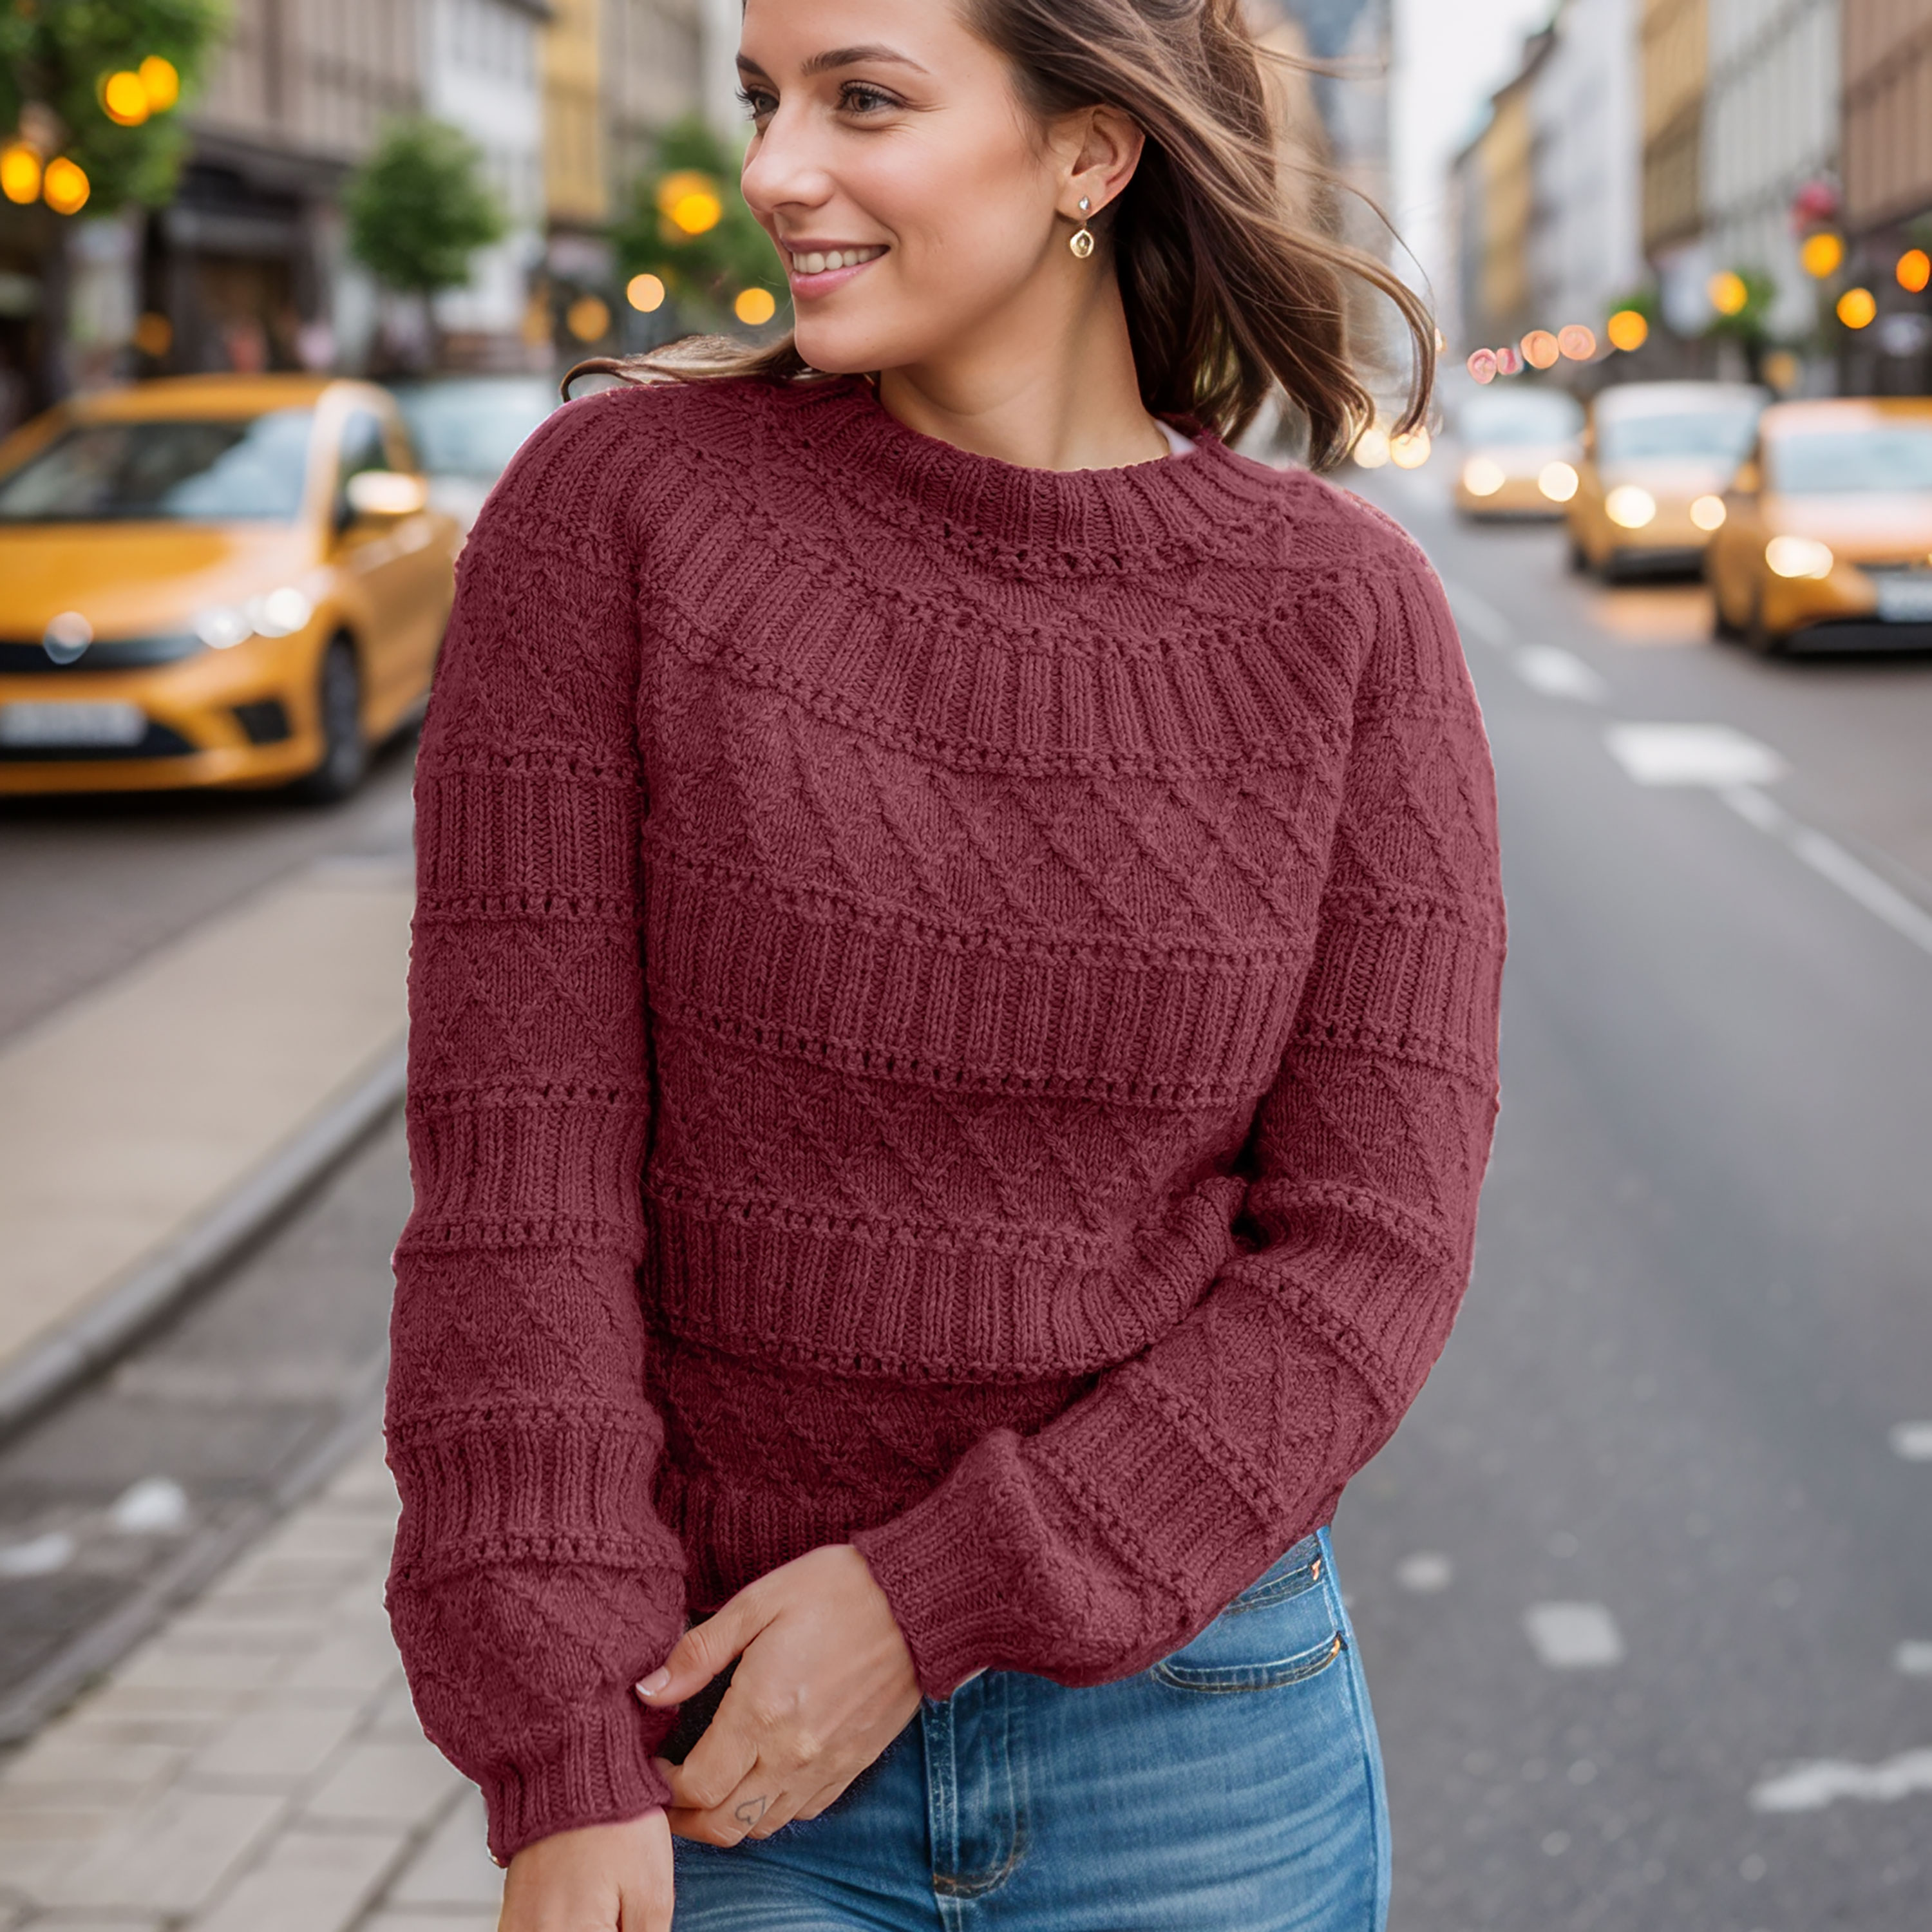
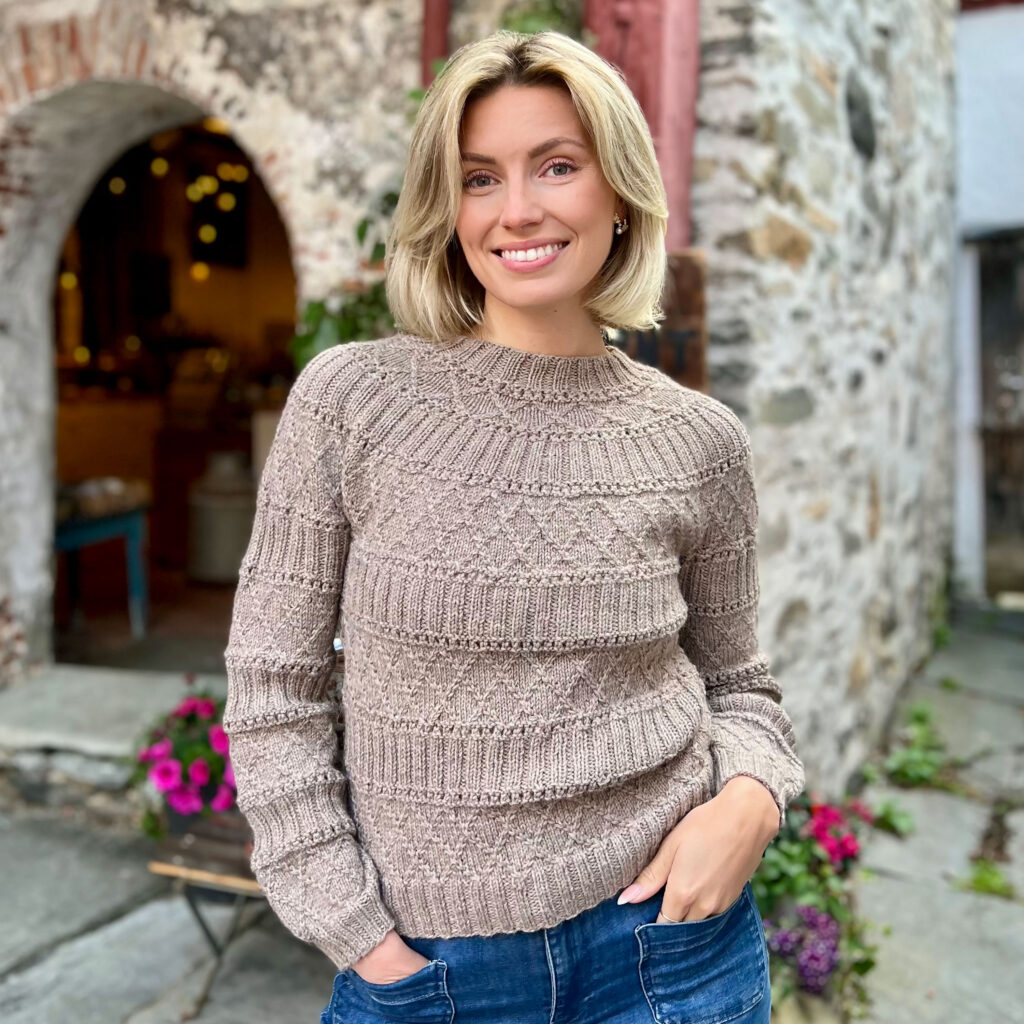
A yoke sweater is knit in the round as a single, mostly seamless garment, and the body and sleeves are joined at the underarms before the colorwork pattern is worked across the entire circumference of the upper body and both sleeve tops at once. That's the defining feature: instead of knitting a front, a back, and two sleeves separately and sewing them together, you build one continuous tube for the yoke, which is what allows the colorwork motifs to flow uninterrupted around the whole sweater.
You can work a yoke sweater in either direction:
Top-down starts at the neckline. You cast on for the neck edge, work the colorwork yoke downward with regular increases to add width, then divide for the body and sleeves and finish each piece separately. This is the more common approach for modern patterns, largely because it lets you try the sweater on as you go and adjust length before binding off.
Bottom-up starts by knitting the body as a tube and the two sleeves as separate tubes, all worked upward to the underarm. At that point you join all three pieces onto one circular needle, work the colorwork yoke upward with decreases to shape the shoulders and neck, and finish with a neckband. Many traditional lopapeysa patterns use this method.
Both approaches produce the same finished look. The direction mostly affects when you get to try the garment on and in which order you handle the finishing details.
What You'll Need
- Worsted or bulky-weight wool — traditionally an Icelandic lopi-style yarn, prized for how well it shows stitch definition in stranded colorwork
- Circular needles in two lengths (one for the body, a shorter one for the narrower yoke and neck) plus double-pointed needles or a second short circular for sleeves
- A stitch marker for the round's beginning
- Waste yarn or stitch holders for the underarm stitches
- A yoke chart in two or more colors, plus a tapestry needle for weaving in the many ends that stranded colorwork produces
Step-by-Step: Knitting a Top-Down Yoke Sweater
1. Cast On and Establish the Neckline
Cast on the number of stitches your pattern specifies for the neck circumference and join for working in the round, being careful not to twist your stitches. Work a few rounds of ribbing or your chosen edge treatment — this is what will sit closest to your neck, so a stretchy cast-on is worth using here.
2. Work the Colorwork Yoke
This is the heart of the sweater. Following your chart, work rounds of stranded colorwork while increasing at evenly spaced intervals to widen the yoke as it grows. In stranded (Fair Isle-style) colorwork, you carry two yarns per round, alternating them to form the pattern while "floating" the unused color loosely across the back of the work. Traditional lopapeysa yokes typically use just two colors per round, which keeps the floats manageable and the fabric even.
A few practical pointers:
- Keep your floats relaxed. Stranded colorwork puckers when the non-working yarn is pulled too tight — spread your stitches out on the right needle as you knit so the floats have enough slack.
- Increases are usually built into specific rounds of the chart, often spaced to keep the pattern motifs proportional as the yoke widens.
- Try the yoke on periodically (or measure against a sweater that fits well) to check the depth before moving on — yoke depth is one of the easiest things to misjudge, and it's much easier to adjust before you divide for the body.
3. Divide for the Body and Sleeves
Once the yoke reaches the right depth, you'll divide the stitches into three groups: the body (front and back) and the two sleeves. At each underarm, a small number of stitches is set aside — usually placed on waste yarn or a holder rather than bound off — and the body stitches are joined to continue in the round on their own, with new stitches cast on at each underarm gap to compensate for the ones set aside. The sleeve stitches are treated the same way and set aside separately to be worked later.
This is the moment the single tube becomes three: one big loop for the body, two smaller loops that will eventually become sleeves.
4. Knit the Body
With the sleeve stitches safely parked, continue knitting the body in the round straight down to your desired length, then finish with ribbing or another hem treatment. Because there's no side seam, you're simply knitting one big cylinder — a relaxing, mostly mindless stretch after the concentration the yoke demands.
5. Knit the Sleeves
Return to the held sleeve stitches, pick up a few extra stitches at the underarm gap to close the small hole left at the join, and knit each sleeve downward in the round, tapering with regular decreases toward the cuff. Finish each sleeve with ribbing to match the body and neck.
6. Weave In Ends and Block
Stranded colorwork leaves a lot of yarn tails, especially anywhere you changed colors within a round. Weave these in neatly on the wrong side, then block the finished sweater — wetting or steaming it lightly and letting it dry flat to shape helps even out stitch tension across the yoke and gives the colorwork pattern its crispest, most polished appearance.
Adapting for Bottom-Up Construction
If your pattern works bottom-up instead, the logic mirrors the steps above in reverse: knit the body tube and both sleeve tubes first, working the underarm stitches onto waste yarn on each piece as you approach the join. Then combine all three onto one needle, work the colorwork yoke upward while decreasing steadily to shape the neckline, and finish with a neckband picked up at the top. The underarm stitches you set aside earlier get grafted or seamed together at the very end to close the small gaps.
Common Troubleshooting Tips
- Tension mismatches between colors: If one color of your stranded pattern looks tighter or looser than the other, check that you're maintaining even tension in the floats regardless of which hand or method you use to hold each yarn.
- A visible jog at the round join: Because you're knitting in a spiral rather than flat rows, color changes at the start of a round can create a small stepped line. A simple jogless-join technique, worked at each color change, smooths this out.
- Puckering at the underarm join: Picking up a couple of extra stitches at each underarm gap, rather than the exact number removed, helps prevent tightness at this high-stress point.
- A yoke that feels too shallow or too deep: Since yoke depth is worked before you commit to the body length, this is the easiest stage to try on and adjust — don't be afraid to add or remove a round or two of plain knitting before starting the divide.
Ready to Try It Yourself
Yoke construction is one of the most rewarding techniques in a knitter's toolkit precisely because the payoff is so visible — a single chart, worked once, transforms the whole upper body of a sweater. Once you've knit one, you'll find the same skills carry over to countless other circular-yoke designs, colorwork or not. Cast on, take the colorwork chart one round at a time, and enjoy watching the pattern emerge.
Sources
- Sweater Construction: The Many Ways to Knit a Sweater – tin can knits
- Simple Sweater: How to Knit a Top-Down Round Yoke Pullover – tin can knits
- Underarm Joining Tips for Bottom-up Seamless Sweaters – tin can knits
- Designing a Lopi Sweater with Lars Rains: Construction – Berroco Design Team Blog
- Lopapeysa – Wikipedia