# How to Knit a Cowl: Construction and Sizing Explained
If you've already worked your way through a scarf and maybe even a hood, a cowl is a natural next project. It uses many of the same skills you already have, but it introduces one new decision that trips up a lot of knitters the first time around: how do you actually turn a flat piece of fabric into a closed loop that sits nicely around your neck? Once you understand your construction options and how sizing works, cowls become one of the fastest, most satisfying projects in your knitting rotation.
Two Ways to Knit a Cowl: Flat and Seamed, or in the Round
Every cowl, no matter how simple or elaborate, comes down to one of two basic construction methods. Understanding both will help you pick the right one for your pattern, your yarn, and your patience level.
Knitting Flat and Seaming into a Loop
In this method, you knit a long rectangle back and forth on straight or circular needles, just as you would for a scarf, then join the two short ends together to form a tube. The seam is typically closed with mattress stitch, which creates a nearly invisible join when worked correctly.
This approach has a few real advantages. You can try the cowl on (or hold it up to your neck) before committing to the seam, which makes it forgiving if you want to adjust the length. It's also friendlier if you're still getting comfortable with circular needles, since you're working with familiar flat knitting the whole way through. The tradeoff is the extra finishing step: a seam takes time, and a sloppy one can pucker or show, especially in a heavily textured stitch.
Knitting in the Round from the Start
The more common approach for modern cowl patterns is to cast on directly onto a circular needle (or double-pointed needles for a narrower cowl) and join your stitches into a circle right away, then knit continuously in rounds until you reach your desired height. There's no seam at all, which means no finishing step and no visible join line.
The one technical hurdle is joining without twisting your stitches. Before you connect the first and last stitch, lay your cast-on row flat on a table or your lap and run your finger along the entire edge to make sure it isn't spiraling around the needle cable. A twist that goes unnoticed at the join will turn your cowl into a Möbius strip, which is a fun effect if you meant to do it and a frustrating one if you didn't. Some knitters prefer to knit a few rows flat first, double-check for twists on a flat surface, and only then join in the round.
Which Method Should You Choose?
If you're newer to knitting or working from a pattern you've written yourself, knitting flat and seaming gives you more control and a chance to correct the length before it's permanent. If you already have circular needles and are comfortable joining in the round, that method is faster overall since you skip seaming entirely, and it tends to produce a cleaner, more polished finish. Neither method is "more correct"; plenty of published patterns use each approach, so choose based on your own comfort and the tools you have on hand.
Sizing Your Cowl: Circumference and Height
Cowl sizing comes down to two measurements: circumference (how far around the loop measures) and height (how tall the tube is from top to bottom). Because a cowl needs to stretch over your head, its finished circumference should generally be a few inches smaller than you'd expect a scarf-turned-loop to be; the fabric will stretch to accommodate your head and then relax around your neck.
Single-Loop Cowls
A single-loop cowl sits around your neck just once, similar to a turtleneck collar. These tend to run in the 20 to 32 inch circumference range for a snug, close fit, though wider versions reaching into the mid-30s are common if you want a looser drape. Height is where you have the most creative freedom: a short 8 to 12 inch cowl sits close to the neck like a collar, while anything from 12 up to 24 inches tall gives you enough fabric to fold over, scrunch, or pull up over your chin on a cold day. If you want to wear your cowl as a snood, pulled up over your head like a hood, aim for at least 18 inches of height so there's enough fabric to cover comfortably.
Infinity and Double-Loop Cowls
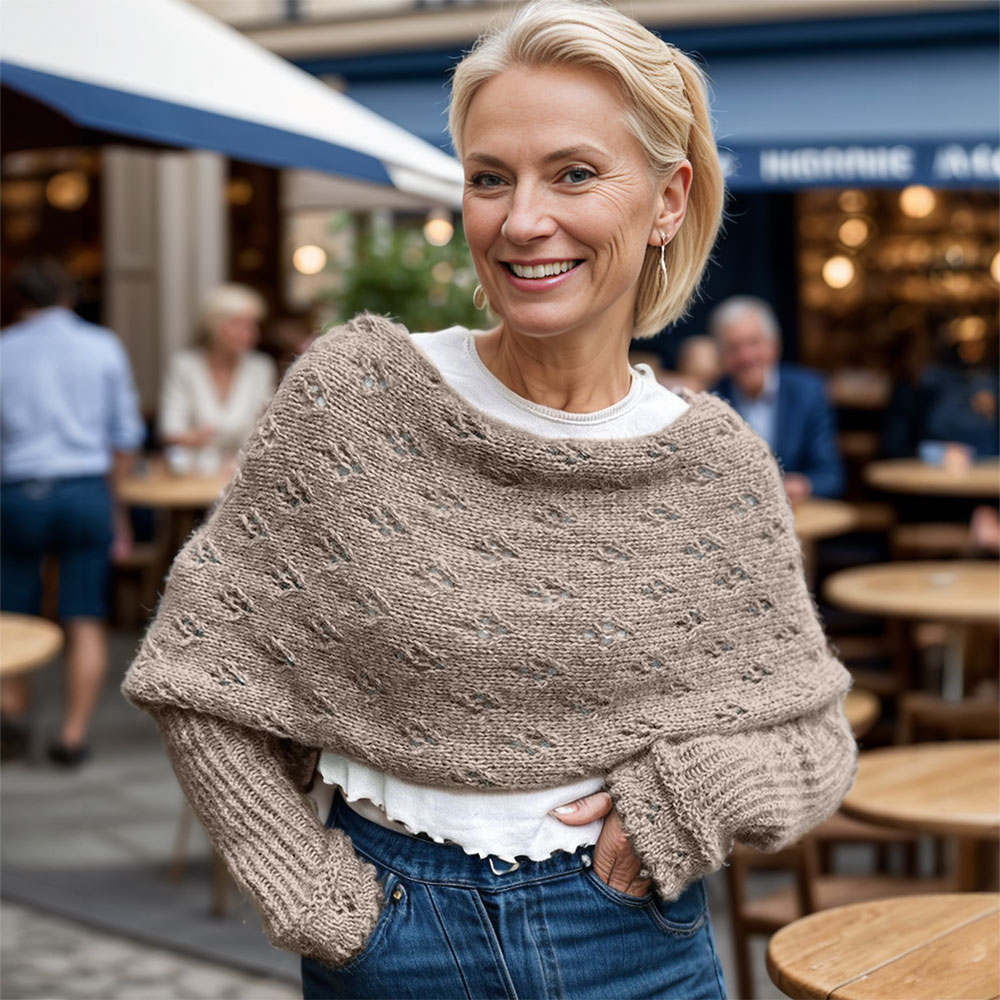
An infinity cowl is simply a longer loop, long enough to wrap around your neck twice instead of once. These typically fall in the 44 to 50 inch circumference range, roughly double a standard single-loop cowl. Because they wrap twice, the height can be more modest, often around 6 to 8 inches, since the double wrap already adds visual bulk and warmth without needing extra length top to bottom.
A Quick Sizing Reference
| Style | Circumference | Height |
|---|---|---|
| Snug single loop | 20–26 in | 8–12 in |
| Standard single loop | 28–34 in | 12–18 in |
| Snood (worn over head) | 32–40 in | 18–24 in |
| Infinity / double loop | 44–50 in | 6–8 in |
These ranges are starting points, not rules. Measure a scarf or cowl you already own and love, lay it flat, and use those numbers as your target gauge swatch and stitch count calculation.
Choosing a Stitch Pattern That Behaves
Because a cowl's edges are usually exposed rather than tucked into a seam or bound off flat against a garment, the stitch pattern you choose matters more here than it might for other projects.
Why Stockinette Curls (and What to Do Instead)
Plain stockinette stitch, all knit stitches on the right side, is wonderfully smooth, but it curls at every cut edge because the knit and purl rows pull against each other unevenly. On a scarf, that curling is often just an annoying edge to deal with. On a cowl, where both the top and bottom edges are visible all the way around, that curl can distort the entire shape and make the fabric look unfinished.
Reliable Choices: Ribbing, Garter, and Simple Textures
The fix is to choose a stitch pattern that's balanced on both sides, meaning it has roughly equal amounts of knit and purl stitches within each row or column. Ribbing (like knit 2, purl 2) is a classic cowl choice because it lies flat, has natural stretch to help the cowl slip over your head, and looks tidy from both the inside and outside, which matters since a cowl's "wrong side" is often visible when it twists around your neck. Garter stitch, worked by knitting every row (or alternating knit and purl rounds when working in the round), is another dependable option; it produces a springy, textured fabric that lies completely flat and shows off variegated or self-striping yarn beautifully. Seed stitch and moss stitch fall into the same reliable category, offering a bit more visual texture while still resisting curl.
If you do want to use stockinette for part of your design, consider bordering it with a few rows or rounds of ribbing or garter stitch at the top and bottom edges. That border anchors the fabric and stops the curl before it starts, letting you enjoy the smoothness of stockinette in the body of the cowl without fighting your edges the whole way through.
Bringing It Together
A cowl really is just a scarf that commits: instead of leaving the ends loose, you close them into a loop, and that one decision opens up a world of construction and sizing choices. Pick the building method that fits how you like to knit, choose a circumference and height that matches how you actually want to wear it, and lean on a stitch pattern that lies flat rather than fighting you at the edges. With those three decisions made, casting on is the easy part.