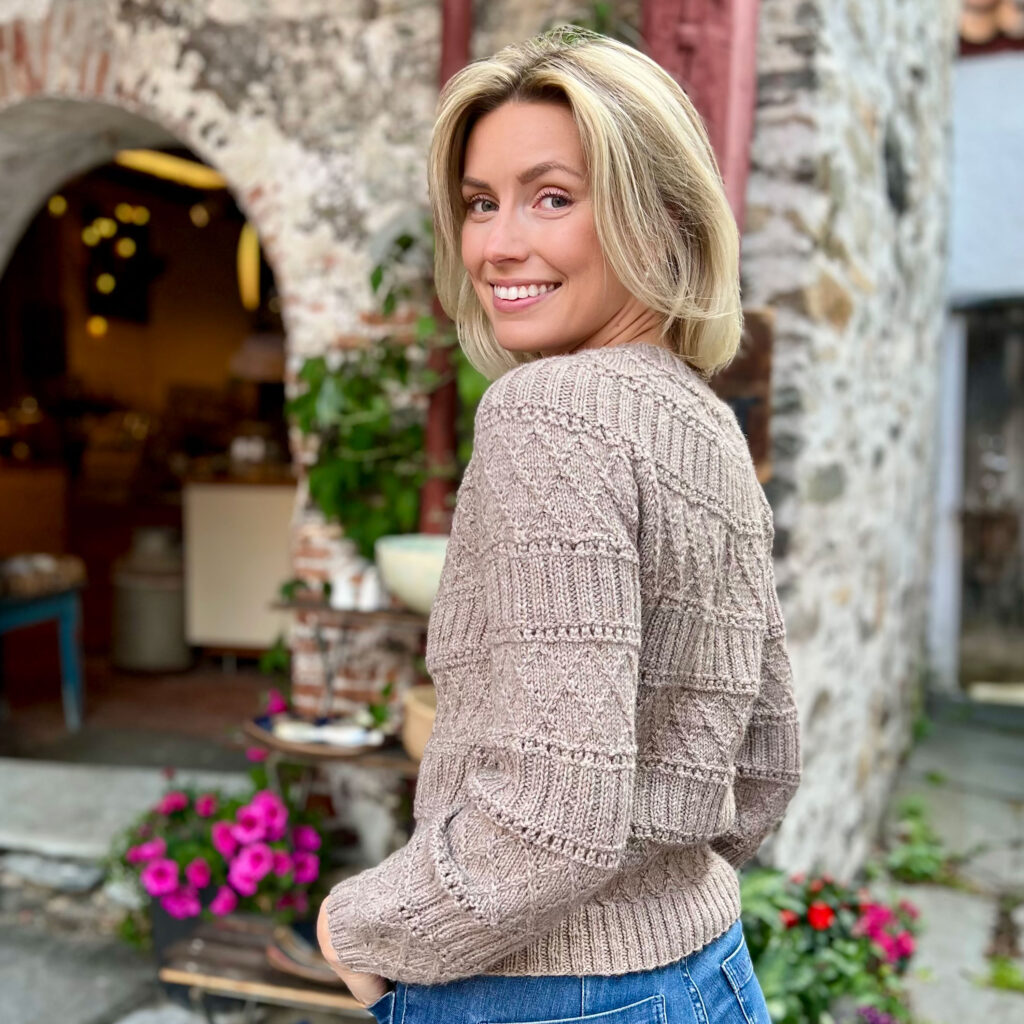
# How to Block Knitting: A Complete Guide
You've bound off your last stitch, woven in the ends, and laid your finished piece out to admire it — and something feels off. The edges curl. The lace looks scrunched instead of airy. The sweater fronts don't quite match. This is the part of the process most patterns skip over in a single line ("block to finished measurements"), and it's also the part that makes the biggest visible difference between a handmade-looking project and one that looks like it came from a shop shelf.
That missing step is blocking, and once you understand how it works, you'll never skip it again.
What Blocking Actually Does
Blocking is the process of using water, heat, or both to relax your knitted fabric and reshape it before it's considered finished. Moisture (or steam) temporarily loosens the bonds between fibers, which lets you smooth out curling edges, even out uneven stitches, open up lace patterns, and coax a piece to its intended measurements. Once the fabric dries back in that new shape, the stitches settle into place — at least until the next wash.
It isn't just cosmetic. Blocking is often the step that makes a lace shawl's yarnovers open into the delicate mesh they're designed to be, rather than staying tight and bunched. It's also how you correct minor sizing issues, like a sleeve that's a half-inch narrower than its pair, or a gauge swatch that measured differently once it left the needles.
Choosing the Right Method for Your Fiber
Not every yarn responds to blocking the same way, and the method that works beautifully on one fiber can ruin another. Before you pin anything down, it helps to know what you're working with.
Wool and Other Animal Fibers
Wool is, by a wide margin, the easiest and most rewarding fiber to block. Its structure allows it to absorb water and hold a new shape once dry, which is why wool sweaters and shawls transform so dramatically after a good soak. Alpaca, mohair, and blends behave similarly, though fuzzier fibers like mohair can "bloom" (get fluffier) more than you expect, so it's worth blocking a swatch first if you're unsure.
Cotton and Linen
Plant fibers block reasonably well with water but don't have the same memory as wool — they'll relax and drape nicely, but they won't snap back to a wrong shape or hold an aggressively stretched one for long. Wet blocking is the standard approach here.
Acrylic and Other Synthetics
Synthetic yarns are the trickiest of the bunch, because they're essentially a form of plastic. That's the root of the problem: heat that would simply relax wool can actually begin to melt acrylic fibers, flattening stitch definition permanently and even leaving a slight sheen or stiffness where the fiber has changed structure. This is sometimes done deliberately and called "killing" acrylic — a technique some crocheters use on purpose to make a piece drape like fabric instead of yarn — but it's irreversible, so it should never happen by accident. Acrylic also absorbs water much more slowly than wool, so wet-blocked acrylic projects take longer to dry and are more prone to staying damp in their centers. For acrylic, stick to wet or spray blocking with cool water, and if you use steam at all, hover the iron above the fabric rather than touching it, and test on a swatch first.
The Three Blocking Methods, and When to Use Each
Wet Blocking
Wet blocking involves fully soaking your knitting in water, removing the excess, and shaping the damp fabric until it dries. It's the most thorough method and the one most likely to give lace its full drape and sweaters their intended measurements. It's the right default choice for wool, wool blends, cotton, linen, and acrylic alike — it's simply the safest and most reliable option across fiber types, which is exactly why it's the method detailed step by step below.
Steam Blocking
Steam blocking uses the heat and moisture from a steam iron or handheld steamer, held just above the fabric rather than pressed onto it, to relax the fibers without a full soak. It's faster than wet blocking and useful for touch-ups — flattening a curling edge on a scarf, or smoothing a seam — but it carries real risk for synthetic fibers, which can scorch or melt under direct heat. Steam blocking is best reserved for wool and other natural fibers that can tolerate heat, and even then, a light hand and a hovering iron matter more than you'd think.
Spray Blocking
Spray blocking sits between the other two: you mist the piece with water from a spray bottle rather than submerging it, then pin and shape it as it dries. It relaxes the fibers less dramatically than a full soak, which makes it a good choice when you only need to correct curling edges or minor shaping rather than reset the whole garment, or when you're blocking something delicate or acrylic and want to avoid oversaturating it.
Equipment That Makes Blocking Easier
You don't need much to block a project well, but a few tools make the process far less fiddly:
- Blocking mats — interlocking foam squares (often sold for yoga or as children's play mats) that you can pin directly into. They protect your floor or furniture and give pins something to grip.
- Rustproof pins — regular pins can leave rust spots on fabric that sits damp for hours; T-pins or dedicated blocking pins won't.
- Blocking wires — thin, flexible metal rods that thread through the edge of your knitting so you can stretch and pin an entire side at once, rather than placing dozens of individual pins. They're especially useful for lace shawls, where getting a perfectly straight edge or crisp points by hand would take forever and rarely look as clean.
- A tape measure — to check your piece against the pattern's finished measurements as you pin.
- Towels — for blotting out excess water before you lay a piece out to dry.
You can improvise most of this early on — a spare bed with a towel down works in a pinch — but if you plan to knit shawls or lace regularly, blocking wires in particular are worth the investment.
Step-by-Step: Wet Blocking a Sweater
- Fill a basin with lukewarm water. Add a small amount of wool wash or a gentle, no-rinse soap if you're working with wool or another animal fiber. Avoid hot water, which can felt wool unintentionally.
- Submerge the sweater and let it soak. Push it gently under the water until it's fully saturated — you'll see air bubbles escape as the fibers take on water. Let it soak for 10 to 30 minutes so the water penetrates evenly, not just the surface.
- Drain the basin and press out the water. Don't lift the sweater by one section, since a waterlogged garment is heavy and can stretch out of shape under its own weight. Instead, gently press water out while it's still supported in the basin.
- Roll the sweater in a towel to remove more moisture. Lay it flat on a dry towel, roll the towel up like a jelly roll, and press or stand on it to squeeze out the remaining water. Repeat with a second dry towel if the first one gets saturated.
- Lay the sweater out on your blocking surface. Use mats, a spare bed, or a clean carpet protected with towels. Gently ease it into shape, matching it to the pattern's finished measurements or to a similar sweater you own.
- Check that both sides match. Measure sleeve length, body length, and width at the chest, and adjust until the two sides mirror each other. This is the step that fixes small gauge inconsistencies between pieces.
- Pin as needed and let it dry completely. Sweaters often hold their shape well without heavy pinning, but pin curling edges, cuffs, or a collar that needs coaxing into place. Leave the sweater undisturbed until it's bone dry, which can take a full day or two depending on fiber and humidity — resist the urge to move it early.
- Unpin and enjoy the results. You'll notice more even stitches, a cleaner shape, and — if there's any texture or lace involved — much better stitch definition than the piece had straight off the needles.
A Few Troubleshooting Notes
If a piece still looks uneven after blocking, it can usually be re-wet and reshaped, since wool and similar fibers tolerate repeated blocking well. If you're worried about colorfastness, especially with hand-dyed or variegated yarn, soak a swatch first to check for bleeding before you commit the whole garment to a basin. And if you're ever unsure how a fiber will respond, block your gauge swatch exactly the way you plan to block the finished piece — it's a small extra step that can save you from an unpleasant surprise on a project you spent weeks making.