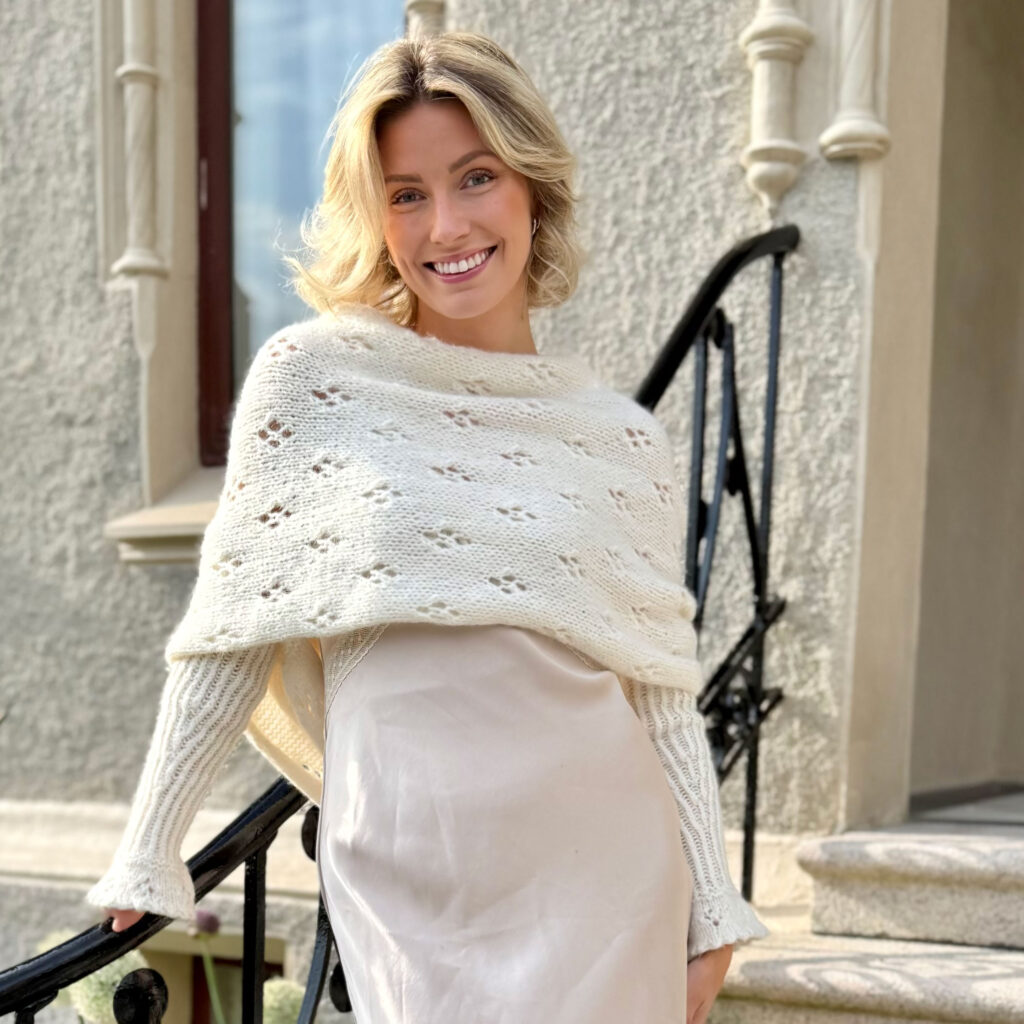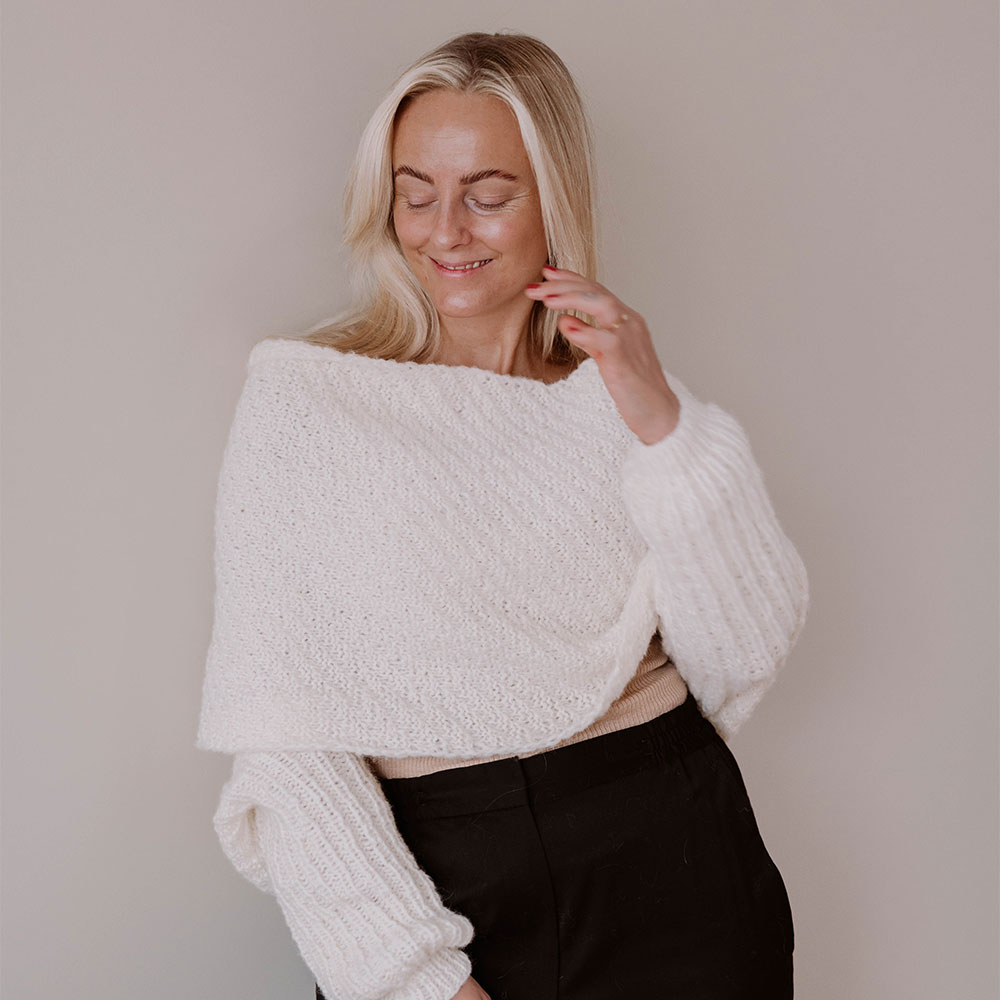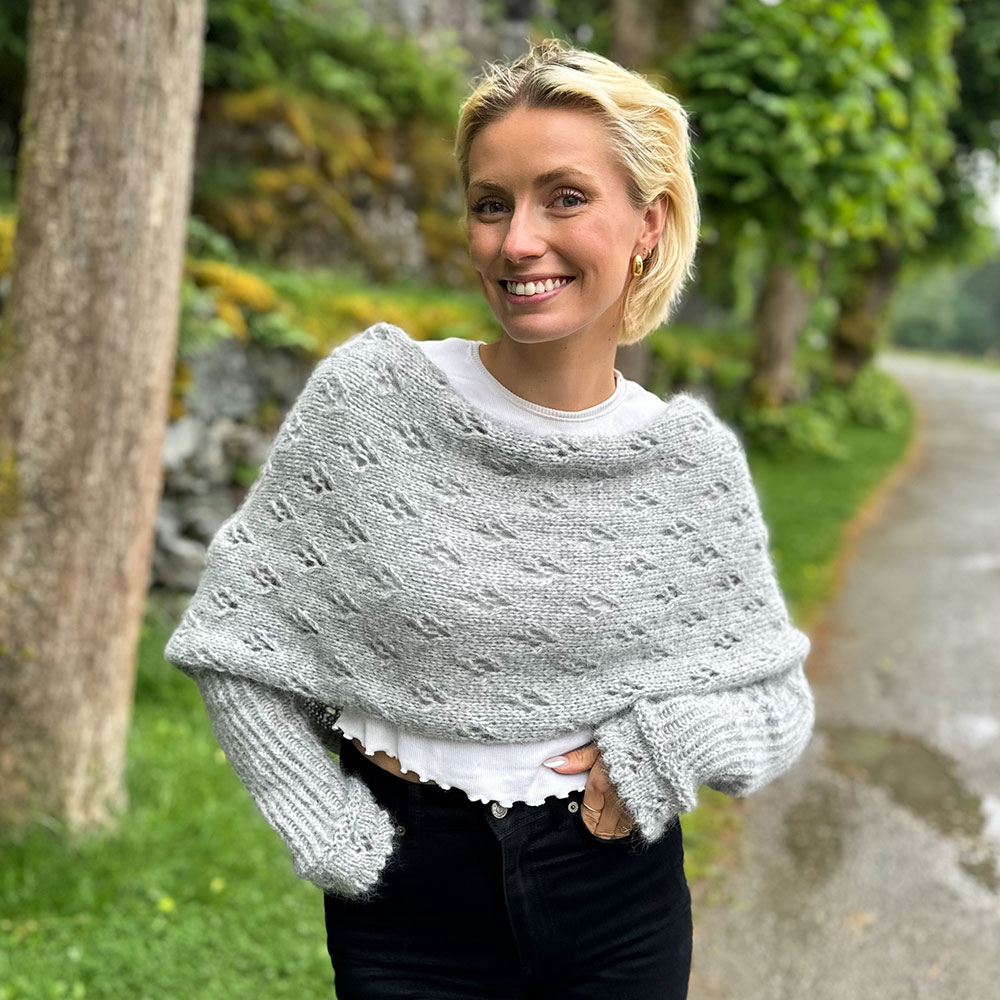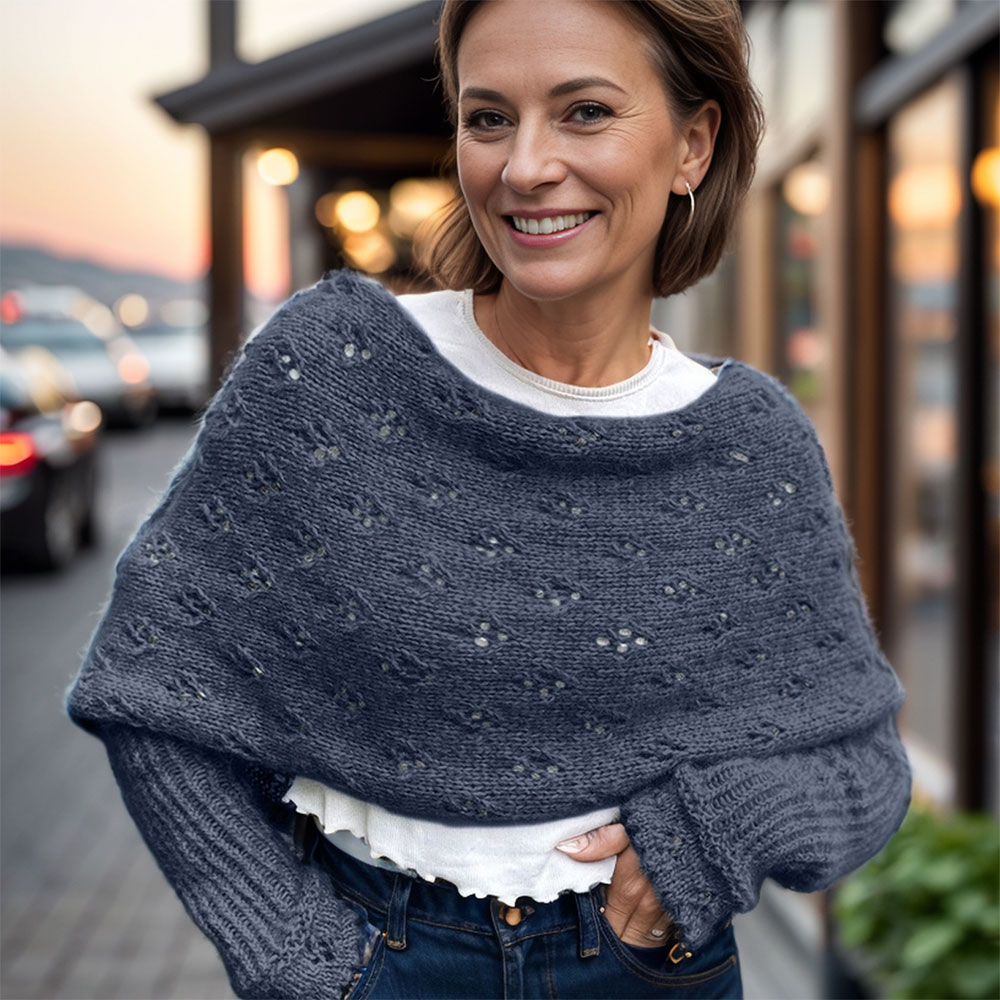
If you've been eyeing your local yarn shop's shelves and wondering whether you could actually learn to knit, here's some good news: you absolutely can, and you don't need anything fancier than a couple of needles, a ball of yarn, and a free evening to get started. The easy first knitting project that nearly every experienced knitter recommends is a simple garter stitch scarf, and by the end of this walkthrough, you'll know exactly how to make one from start to finish.
No swatching, no shaping, no confusing abbreviations. Just one stitch, repeated, until you have something warm and wearable that you made with your own two hands.
Why a Garter Stitch Scarf Is the Perfect First Project
Before you pick up your needles, it helps to understand why this particular project is the one nearly every teacher, blogger, and pattern designer points beginners toward.
A garter stitch scarf uses only one stitch: the knit stitch. You never have to learn to purl, count complicated repeats, or worry about following a chart. You knit every stitch of every row, over and over, until the scarf is as long as you want it. That repetition is exactly what your hands need right now — it's how you build the muscle memory that makes knitting feel natural instead of effortful.
Garter stitch also has two practical advantages that matter a lot for a first attempt. First, it lies completely flat. Stockinette stitch (the smooth "V" pattern you probably picture when you think of a knit sweater) curls stubbornly at the edges, which is frustrating and confusing for someone still learning. Garter stitch doesn't do that, so your scarf will look tidy and finished without any special edge treatment. Second, it's reversible — both sides look identical, so there's no "right side" or "wrong side" to keep track of. If you set your knitting down and pick it back up a few days later, you can't accidentally knit a row backward.
Put simply: a garter stitch scarf lets you focus on one skill at a time, which is exactly what makes a first project feel achievable instead of overwhelming.
What You'll Need
Yarn
Choose a worsted weight (also labeled "medium" or "#4") yarn in a light or medium solid color. Worsted weight is thick enough to work up quickly and to make your stitches easy to see, which matters enormously when you're still learning to recognize what a knit stitch looks like on the needle. Save the fuzzy mohair, sparkly novelty yarns, and very dark colors for later — they look lovely, but they hide your stitches and make it much harder to spot mistakes while you're learning. A smooth, light-to-medium colored wool or wool-blend yarn is ideal.
Needles
Pair your worsted weight yarn with US size 8 (5mm) or US size 9 (5.5mm) straight needles. This combination is the sweet spot: large enough to knit quickly and see your stitches clearly, small enough that the fabric doesn't feel bulky or unwieldy in your hands. If you have a choice of material, go with wood, bamboo, or plastic rather than metal. Metal needles are slicker, which means stitches can slide off more easily while you're still getting a feel for how much tension to hold.
Other Supplies
You'll also want a pair of small scissors and a yarn needle (sometimes called a tapestry or darning needle) for weaving in your ends once the scarf is finished. That's genuinely all you need — no stitch markers, no row counters, no gauge ruler required for this project.
Step 1: Cast On Your Stitches
Casting on creates your foundation row — the base that all your knitting will build on top of. For a standard adult scarf that finishes around 8 to 9 inches wide, cast on somewhere between 28 and 32 stitches using worsted weight yarn on your size 8 or 9 needles. If you'd like a slightly narrower or wider scarf, feel free to adjust within roughly the 24 to 36 stitch range — there's no need to be exact on a first project.
If you're brand new to casting on, look for a video tutorial on the long-tail cast-on method, which is the most common technique and creates a neat, stretchy edge. Don't worry if your first cast-on row looks a little uneven; you'll get more consistent with practice, and it won't be noticeable once the scarf is finished.
Step 2: Learn the Knit Stitch
The knit stitch is the only technique this entire project requires, so it's worth taking a few minutes to really get comfortable with the motion before you start counting rows. In short, you insert your right needle into the front of the first stitch on your left needle, wrap the working yarn around the tip, pull that new loop through, and slide the old stitch off. Repeat that same motion across the row.
It's completely normal for your first few rows to feel slow and awkward. Your hands are learning a brand-new coordination pattern, and that takes repetition. Try not to judge your progress by how your first inch of scarf looks — focus instead on getting the motion smooth and consistent. It clicks faster than most people expect.
Step 3: Settle Into a Rhythm
Once you've cast on and worked a few rows of knit stitches, you're officially knitting garter stitch — there's no special instruction to switch to. Every single row, from your cast-on edge to your bind-off, is worked the exact same way: knit every stitch, all the way across, then turn your work and do it again.
Checking Your Tension
As you knit, try to keep your tension relaxed and even. A common beginner habit is gripping the yarn tightly out of nervousness, which makes stitches hard to work and can leave your fabric stiff and puckered. If your hands feel tense or tired, that's a good cue to loosen your grip slightly. Small variations in tension between rows are completely normal at this stage and will even out with washing and wear — don't rip out perfectly good rows chasing perfection.
Step 4: Know When It's Long Enough
This is one of the questions beginners ask most, and happily, the answer is flexible. A traditional adult scarf runs somewhere between 60 and 70 inches long, but the simplest way to check is to try it on as you go: wrap the scarf around your neck and fold it in half. If it comfortably reaches somewhere between your chin and your waist, you're at a good stopping length. Keep knitting and checking every so often until it feels right to you — there's no wrong answer here, only your own preference.
Step 5: Bind Off
Binding off finishes your last row so the stitches can't unravel. Knit your first two stitches as usual, then use the tip of your left needle to lift the first stitch up and over the second stitch, letting it drop off the needle. Knit one more stitch, then repeat that same lift-and-drop motion. Continue across the row until just one stitch remains, then cut your yarn leaving about a 6-inch tail, and pull that tail through the final loop to secure it.
Take your time with this step and try to bind off with the same relaxed tension you used for the rest of the scarf — binding off too tightly is a common beginner mistake, and it can pucker an otherwise beautifully even edge.
Step 6: Finishing Touches
Thread your leftover yarn tails (one from the cast-on edge, one from the bind-off) onto your yarn needle and weave them into the wrong side of the scarf, running them back and forth through a few stitches so they lock in place, then snip the excess. That's it — your scarf is complete and ready to wear.
Common Beginner Hiccups (and How to Fix Them)
A few small issues trip up almost everyone on their first project, so don't be discouraged if you run into them:
- A hole appears out of nowhere. You likely dropped a stitch off the needle without knitting it. Catch it with a crochet hook if you have one, or simply knit it back onto the needle at the next row if you can.
- Your stitch count keeps changing. This usually means you accidentally split a stitch into two, or knit two stitches together by mistake. It happens to everyone — count your stitches every few rows early on so you catch changes before they multiply.
- The edges look uneven. Slightly loose or tight edge stitches are extremely common and barely noticeable once the scarf is off the needles. Many knitters slip the first stitch of every row rather than knitting it, which creates a slightly neater edge — worth trying on your next project.
What to Knit Next
Once you've finished your first scarf, you've already built the two most important skills in knitting: casting on and working an even row of stitches. From here, a simple beanie or a garter stitch dishcloth are natural next steps that introduce just one new concept at a time — shaping or the purl stitch — without overwhelming you. Whatever you choose next, you'll be knitting it with hands that already know what they're doing.