# How to Cable Without a Cable Needle
If you've worked through our beginner cable tutorial, you already know the classic method: slip stitches onto a cable needle, hold them to the front or back, knit the live stitches, then knit the held ones off the cable needle. It's reliable and it's how most of us learn to cable. But once that motion feels automatic, a lot of knitters start wondering whether the little needle is really necessary.
For small cables, it isn't. You can cross stitches with nothing but your fingers, and once the technique clicks, it's genuinely faster than reaching for a separate tool every few rows. This is a skill worth adding to your toolkit, not a replacement for the cable-needle method — you'll want both, depending on the project.
Why Skip the Cable Needle at All
The case for going needle-free comes down to rhythm. Every time you set your working needles down to pick up a cable needle, slip stitches onto it, reposition it, and then pick your needles back up, you've broken your flow. On a sweater covered in small cable panels, those pauses add up to real time. Cable needles are also notorious for sliding out of stitches at the worst moment or rolling off your lap onto the floor, especially the smooth metal ones.
Working without one means your hands stay on your needles and yarn the whole time. There's nothing to lose, nothing to fumble for, and nothing extra to pack in your project bag. Many knitters find that once they're comfortable with the method, it actually feels more secure than juggling a third needle, because they can feel exactly what the stitches are doing at every moment.
The tradeoff is control. A cable needle anchors your held stitches so they can't run or twist while they wait. Doing it by hand means those stitches are briefly unsecured, which is exactly why this technique has a size limit.
Why This Only Works for Small Cables
This method is built for crosses of two, three, or four stitches — think C4F, C4B, and similar small twists. Beyond that, it becomes genuinely risky, and here's the mechanical reason why.
When you slip stitches off your left needle to rearrange them, those stitches are held open only by the tension you're applying with your fingers. With two to four stitches, you can pinch them firmly enough that they stay put, and the short distance you're moving them keeps the yarn from stretching or laddering in the row below. The moment you try this with six or eight stitches, you're asking your fingers to control a much wider, floppier group of loops. It gets hard to keep them in order, hard to keep even tension across all of them, and easy for one stitch on the edge of the group to slip loose or ladder down several rows before you notice. A dropped stitch in the middle of a wide cable cross is a much bigger repair job than a dropped stitch almost anywhere else in your knitting, because it's sitting right where the fabric is under the most structural tension.
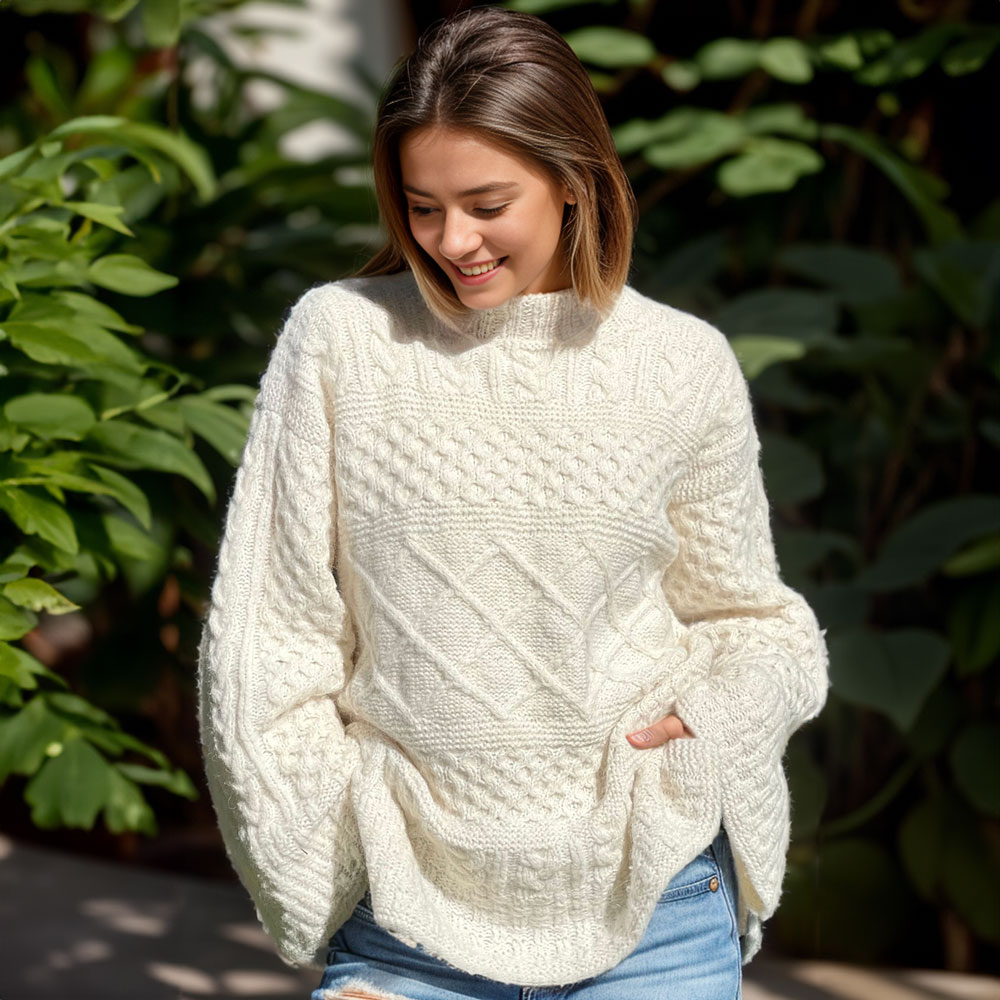
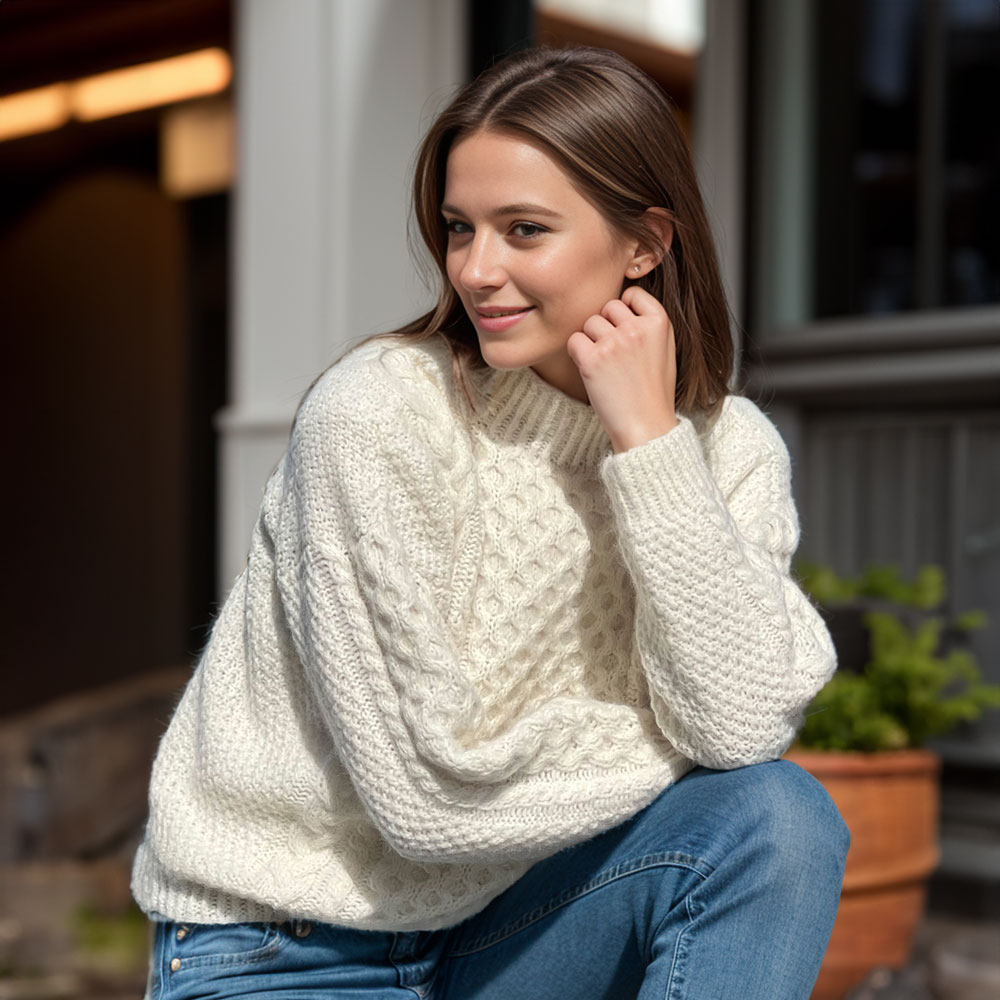
So as a working rule: reach for this technique on small, frequent crosses, and keep your cable needle in the project bag for anything wider. Many cardigans and sweaters with an allover cable pattern are made almost entirely of 2-over-2 or 2-over-3 crosses for exactly this reason — they're both visually interesting and quick to execute without a holder.
The Basic Method, Step by Step
The core idea is the same whether you're crossing to the front or the back: you temporarily let the stitches to be moved hang free, held only by finger tension, while you reorder them and then knit them straight off your working needles in their new position. Practice this on a swatch with worsted-weight yarn before trying it on a project — the extra stitch size gives you more to grab onto while you build confidence.
For a Front Cross (like C4F)
- Knit to the point where the cable cross begins.
- Slip the first set of stitches (say, two stitches for a 2-over-2 cross) purlwise off the left needle onto your right needle, or simply off the needle into the air, and hold them in front of your work with your left thumb and finger.
- With the stitches still held out to the front, slip the next set of stitches off the left needle as normal and let them sit on your right needle — or hold them briefly with your other hand if needed.
- Slide your left needle tip back into the first held group (the ones you moved to the front) and knit them in their new position.
- Return to the group that was waiting, pick them up on your left needle, and knit them as usual.
For a Back Cross (like C4B)
Follow the same sequence, but hold the first group of stitches behind your work instead of in front. Everything else about the order — moving one group out of the way, knitting the second group, then coming back for the first — stays the same.
It sounds fiddly written out, but your hands pick up the choreography quickly. The stitches you're holding only need to stay put for a few seconds before they're back on a needle.
Tips for Getting It Smooth
Keep tension snug but not tight. Pinch the held stitches firmly enough that they can't slide off your fingers, but don't pull the yarn so taut that it distorts the stitches below. A little slack actually makes it easier to slide your needle back in.
Work at a size you can see clearly. It's much easier to learn this on a well-lit swatch with smooth, light-colored yarn than on a dark, textured project. Save the trickier yarns for once the motion is second nature.
Let go of using your working needles as the only holder. Some knitters find it easier to let the first group of stitches dangle free in midair for a second rather than trying to park them on a spare needle tip. Others prefer resting them lightly across a finger. Try both and see which feels more secure to you.
Check your row below. After a cross, glance at the stitches just below your new cable to make sure nothing has loosened or started to ladder. Catching a loose stitch immediately is a thirty-second fix; catching it three rows later is not.
Practice the direction that gives you trouble. Most knitters find one of front-cross or back-cross easier than the other at first. If one direction keeps giving you trouble, spend a few extra minutes drilling just that one on scrap yarn.
Which Method Should You Use?
There's no single right answer here — plenty of experienced knitters still reach for a cable needle on every cross, and plenty of others haven't touched one in years. A reasonable approach is to use the hand method for the small, frequent crosses that make up most cable patterns, and switch to a cable needle for wider or more complex crosses where security matters more than speed. Once you've practiced both, you'll be able to make that call project by project, cable by cable — and either way, you'll be moving through cabled fabric faster than when you were learning.